I ran this race on Saturday in Chippewa Falls, WI. It was a 5K run with a Wizard of Oz theme. My running group placed first place in the costume contest. Duct tape, glitter, raffia, OH MY!
My running group. Tin Man, Dorthy, Lion and Scarecrow.
Mrs. Allen as the Tin Man. I made the hat and body out of duct tape and the arms and legs are made from dryer vents. It was very hot to run in, but well worth it after earning first place in the costume contest!
* I cannot remember where I came across this lesson.
All I know is that it is a great mini lesson to show creativity and demonstrate art critique and discussion.
Zippos drawings ready for art critique and discussion.
Read the following to the students. Try to encourage them to keep their eyes on their own work. There are many ways to draw a Zippo. The best part of this lesson is seeing how everyone interprets the directions.
HOW TO DRAW A ZIPPO
Zippos live in caves and never come into the light. Nobody has ever seen a Zippo so we don't know exactly what they look like. Listen to the information below to help you draw a picture of a Zippo.
Facts about Zippos:
1. Zippos are round in shape. This helps them roll from place to place.
2. They have 2 large round eyes that help them see in the dark caves. Each eye is made up of 4 circles.
3. Zippos use their large wings to fly about in the cave, where they feed on spiders and insects.
4. Zippos are friendly. They have big, happy smiles.
5. Zippos have 3 short hairy legs and claws on their feet.
6. Once you have your Zippo drawn, you may color it with crayons and markers.
I usually allow 10 to 15 minutes to hang up all the Zippos and we do a mini art critique on how some of the drawings are similar and what are some the neatest differences we can spot out. Students love to see how different all the Zippos look within their class.
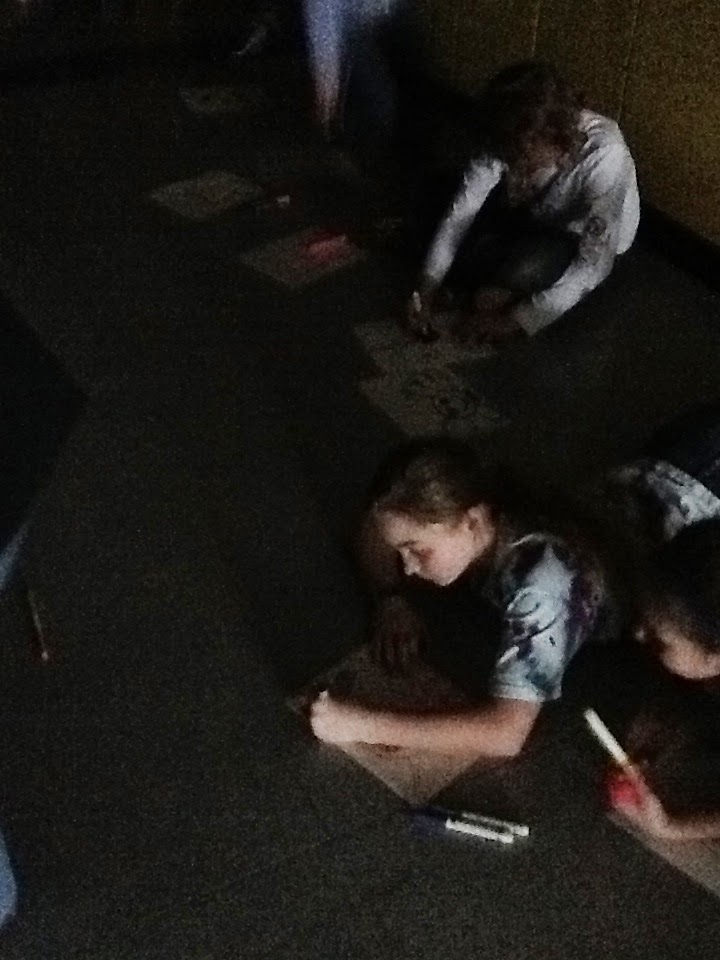
Power outage at our school proved for an interesting afternoon.
Yesterday marked a first for me in my nearly 11 years of teaching. A two hour power outage for our entire district. A power outage might not seem like a huge deal, but imagine teaching art in a classroom without windows. PITCH BLACK DARKNESS right in the middle of painting with my third graders.
With only 20 minutes left of class I managed to gather all the children to the carpet area and come up with a few time fillers (I read a couple poems by flashlight and then we played a counting game called 10).
After the class left I struggled to pick up the paints, water buckets and paintings with one hand while my other hand held my only light source (a tiny double A battery flashlight).
In the middle of cleaning up I was surprised to discover that even though my room was darker than India Ink, I was still going to have to teach my last class for the day.
(I guess the show must go on, no matter the circumstances).
I knew that my original plan of painting our masks was not going to be a possibility, so I quickly fell back on a lesson that I save for the end of the year: How To Draw A Zippo. It is basically a listen and draw exercise.
Since there was more light in the hallway then in my room, I set up my temporary room in the hall. This set up proved to be very interesting and challenging on many levels, but we made it through the adventure. I am sure the children will never forget the day they had art class in the dark. For me? It will be a teaching day that I will remember always, but I also, feel tremendously relieved and excited that when our new school is built I will have WINDOWSin my new classroom!
Creations from my students. Not too bad for drawing in the dark!
* I stumbled across this idea from a student art exhibit. The art teacher explained to me the things she taught and I knew right away that I, too wanted to do this with my students. I later found this project posted on Pintrest.
Day 1:
As a class we discussed the idea of food as artwork. Students discovered that there were lots of ways that food could be used in artwork. Most of course, thought of food in drawings, paintings and sculptures. Some students were surprised that there was such a job as a food makeup artist. Students viewed the video clip below. Many were in awe of the tricks of advertising and some thought a food makeup artist seemed like the coolest job ever.
After viewing the video clip, together as a class I intstructed students how to create the table, plate and bun out of construction paper.
We then had a conversation about textures and how to create different textures.
Students were shown different ways to manipulate the paper to create different food items for their burger. Various materials (yarn, buttons, cardboard, felt, foam, ribbon, etc). were set out for students to use (a great way to get rid of tiny scraps of materials that you just can't part with because they are too good to throw away). Creativity was highly encouraged!
Day 2:
The second day of class was used for finishing up the burger. I once again stressed to students that anything placed on their compositions had to have purpose. They could not just place yarn on their paper, it had to mean something to the composition. Example: If a student glued white yarn to their paper they had to be able to explain what it represented in the burger (onion slices, noodles, mayonaise, etc.)