
First Grade Art Lesson
2 Class Periods
45 minutes per class

Materials:
12 x 18-inch white paper
12 x 9-inch black construction paper
Pencil
Eraser
Scissors
Glue
Black Sharpie
Silver Sharpie or White Colored Pencil
Day 1:
To begin this lesson, I have students listen to the story Black Cat White Cat by Silvia Borando. After the story, we discuss the concepts of contrast and talk about how contrast is used int he story. I even relate the idea of contrast to how baby toys are designed because it easier for babies to focus on things with high contrast. Once our discussion is over we set to work on creating our own black and white cat composition inspired by Silvia Borando's book.
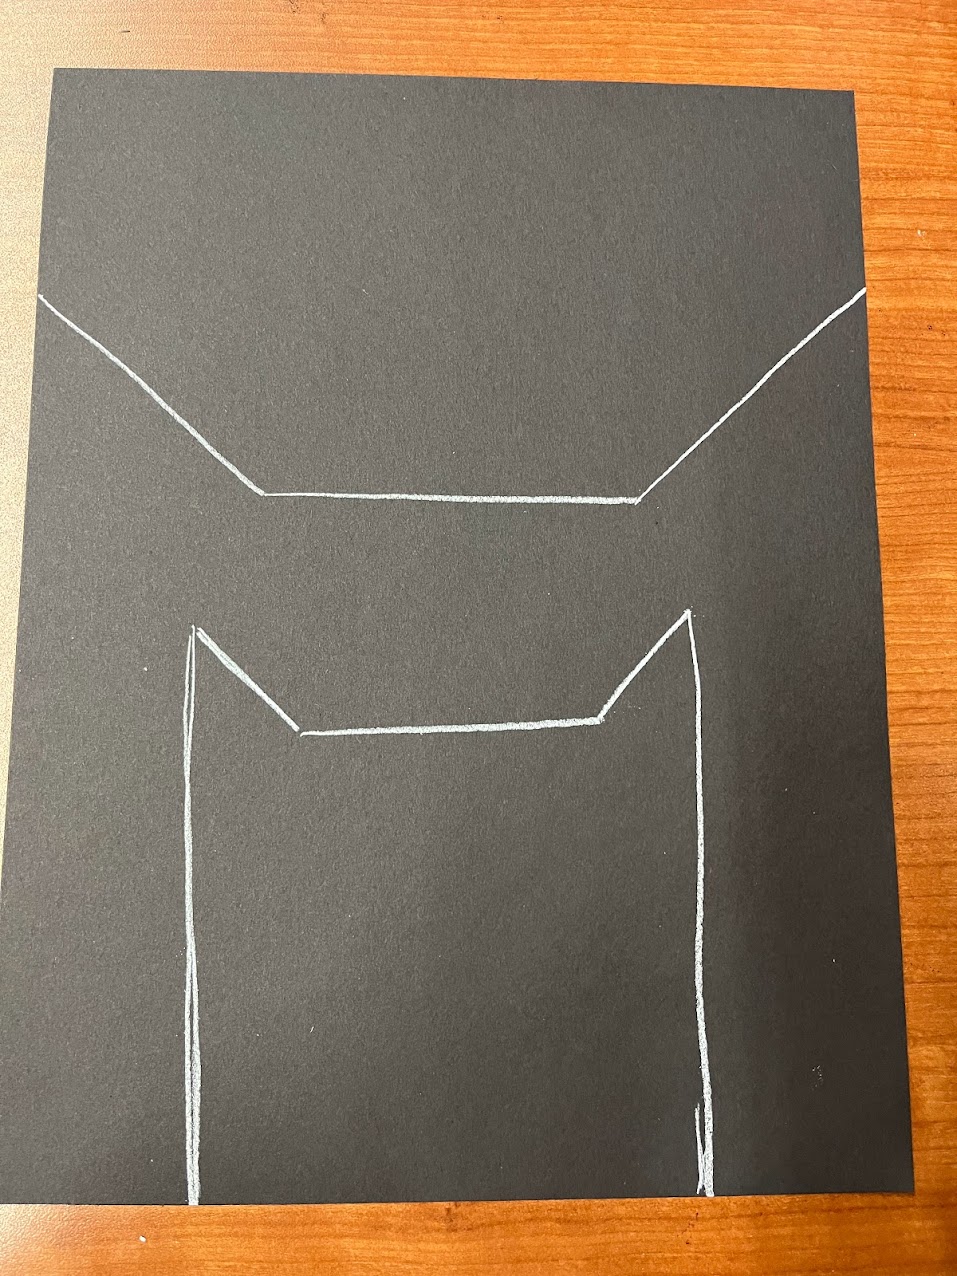
Students are given 12 x 18-inch white paper, 12x 9-inch black paper, a pencil, eraser, glue stick and scissors. I inform student that there will be no scraps for this lesson. We will use every single piece of paper that we cut.


Day 2:
Review with student the topics discussed during the previous art class. Contrast, negative space, and positive space. There is a nice YouTube clip on explaining contrast in art that you may find helpful sharing with students. Contrast
After I pass out the projects, I give students a black and silver sharpie. You could also use a white colored pencil. I use follow along demonstration to show students how to add details to each cat face.

After face details are drawn, we discuss pattern and design. Students are shown several examples of different patterns. You could even have students come up the board and share some of their ideas. Remind students to fill up the space and not scribble. On the black construction paper designs should be drawn with either a silver sharpie or a white colored pencil. On the white paper, use a black sharpie or a black marker to draw designs.
Examples of Students Work:


