Friday, July 22, 2016

Piggy Bank Wall Hangings

First Grade
2 Class Periods

Piggy Bank Wall Hangings, First Grade Art Lesson
I came across this lesson in an Arts & Activities magazine.  The author of the article did this project with third grade students.  There was something about these pieces that really caught my eye, but even more so to me was the challenge of seeing if my first grade students were capable of executing such a project.  By breaking the lesson down into more basic steps and using pattern pieces that I designed on my own, this became an exciting new lesson for my first grade students.

Day 1:

To begin this project students were each given a baseball size piece of clay.  Students were shown how to press the clay flat using the the palm of their hand.  We discuss that the clay should be the thickness of a pancake.  Most students at this age can relate to that visual.  As the students work, I go around and double check the thickness of the slab they create.
Student tracing pig face pattern onto their clay.

A pig face pattern is then placed upon the clay and traced out.  The remaining clay is then kneaded and pressed flat once again.  This time the pocket pattern is cut out from the clay.  The scraps left over are used for creating the nose and eyes.
This is a photo of the pocket pattern.  It covers the bottom half of the pig face pattern.
Next, students are shown how to properly slip and score a piece of clay.  This is the first grade my students are exposed to this skill and I spend a great deal of time demonstrating this step and stressing the importance of proper attachment.

As students, slip and score their pieces together, I go around the classroom and stuff the pocket with paper towel.  After the paper towel has been placed, students continue to slip and score the eyes and snout to their piece.
Paper towel placed within the pocket.

A hole is placed near the top of the pig's head for hanging purposes and the ears are turned up a bit to make them look floppy.  The student's name and class code are placed on the back.

Pieces are air dried for a couple of days.  I remove the paper towel and then fire them in the kiln.

Day 2:

On this day, students are very excited to get their creations back.  We discuss in very basic terms about the stages the clay went through in the firing process.

This is the earliest I have ever introduced the concept of glazing with my students.  We discuss the glazing process in very basic terms and I limit the color selection for the students on what color their pig can be.

After projects are glazed they are placed back in the kiln for the last firing.

Student Examples:


Piggy Bank Wall Hangings

First Grade
2 Class Periods

Piggy Bank Wall Hangings, First Grade Art Lesson
I came across this lesson in an Arts & Activities magazine.  The author of the article did this project with third grade students.  There was something about these pieces that really caught my eye, but even more so to me was the challenge of seeing if my first grade students were capable of executing such a project.  By breaking the lesson down into more basic steps and using pattern pieces that I designed on my own, this became an exciting new lesson for my first grade students.

Day 1:

To begin this project students were each given a baseball size piece of clay.  Students were shown how to press the clay flat using the the palm of their hand.  We discuss that the clay should be the thickness of a pancake.  Most students at this age can relate to that visual.  As the students work, I go around and double check the thickness of the slab they create.
Student tracing pig face pattern onto their clay.

A pig face pattern is then placed upon the clay and traced out.  The remaining clay is then kneaded and pressed flat once again.  This time the pocket pattern is cut out from the clay.  The scraps left over are used for creating the nose and eyes.
This is a photo of the pocket pattern.  It covers the bottom half of the pig face pattern.
Next, students are shown how to properly slip and score a piece of clay.  This is the first grade my students are exposed to this skill and I spend a great deal of time demonstrating this step and stressing the importance of proper attachment.

As students, slip and score their pieces together, I go around the classroom and stuff the pocket with paper towel.  After the paper towel has been placed, students continue to slip and score the eyes and snout to their piece.
Paper towel placed within the pocket.

A hole is placed near the top of the pig's head for hanging purposes and the ears are turned up a bit to make them look floppy.  The student's name and class code are placed on the back.

Pieces are air dried for a couple of days.  I remove the paper towel and then fire them in the kiln.

Day 2:

On this day, students are very excited to get their creations back.  We discuss in very basic terms about the stages the clay went through in the firing process.

This is the earliest I have ever introduced the concept of glazing with my students.  We discuss the glazing process in very basic terms and I limit the color selection for the students on what color their pig can be.

After projects are glazed they are placed back in the kiln for the last firing.

Student Examples:


Saturday, January 30, 2016

More Awesome Whistles

Trimester Two is coming close to an end.  Once again the clay whistle project has been a huge hit.  The creativity I have seen in my students this year is mind blowing.  So proud of all of them!

To view the steps to this lesson check out this link:  Clay Whistles

To see examples from my 5th graders from Trimester One click here: 2015 Clay Whistle Designs

Here are a few examples from Trimester Two: 


Thursday, January 7, 2016

Hoping For An Early Spring

Third grade students kicked off our return from winter break by creating pinch pot frogs.  I always love the oooohh's and aahhhh's that follow when I show students how to make these little creations.
Example of pinch pot frog creation.
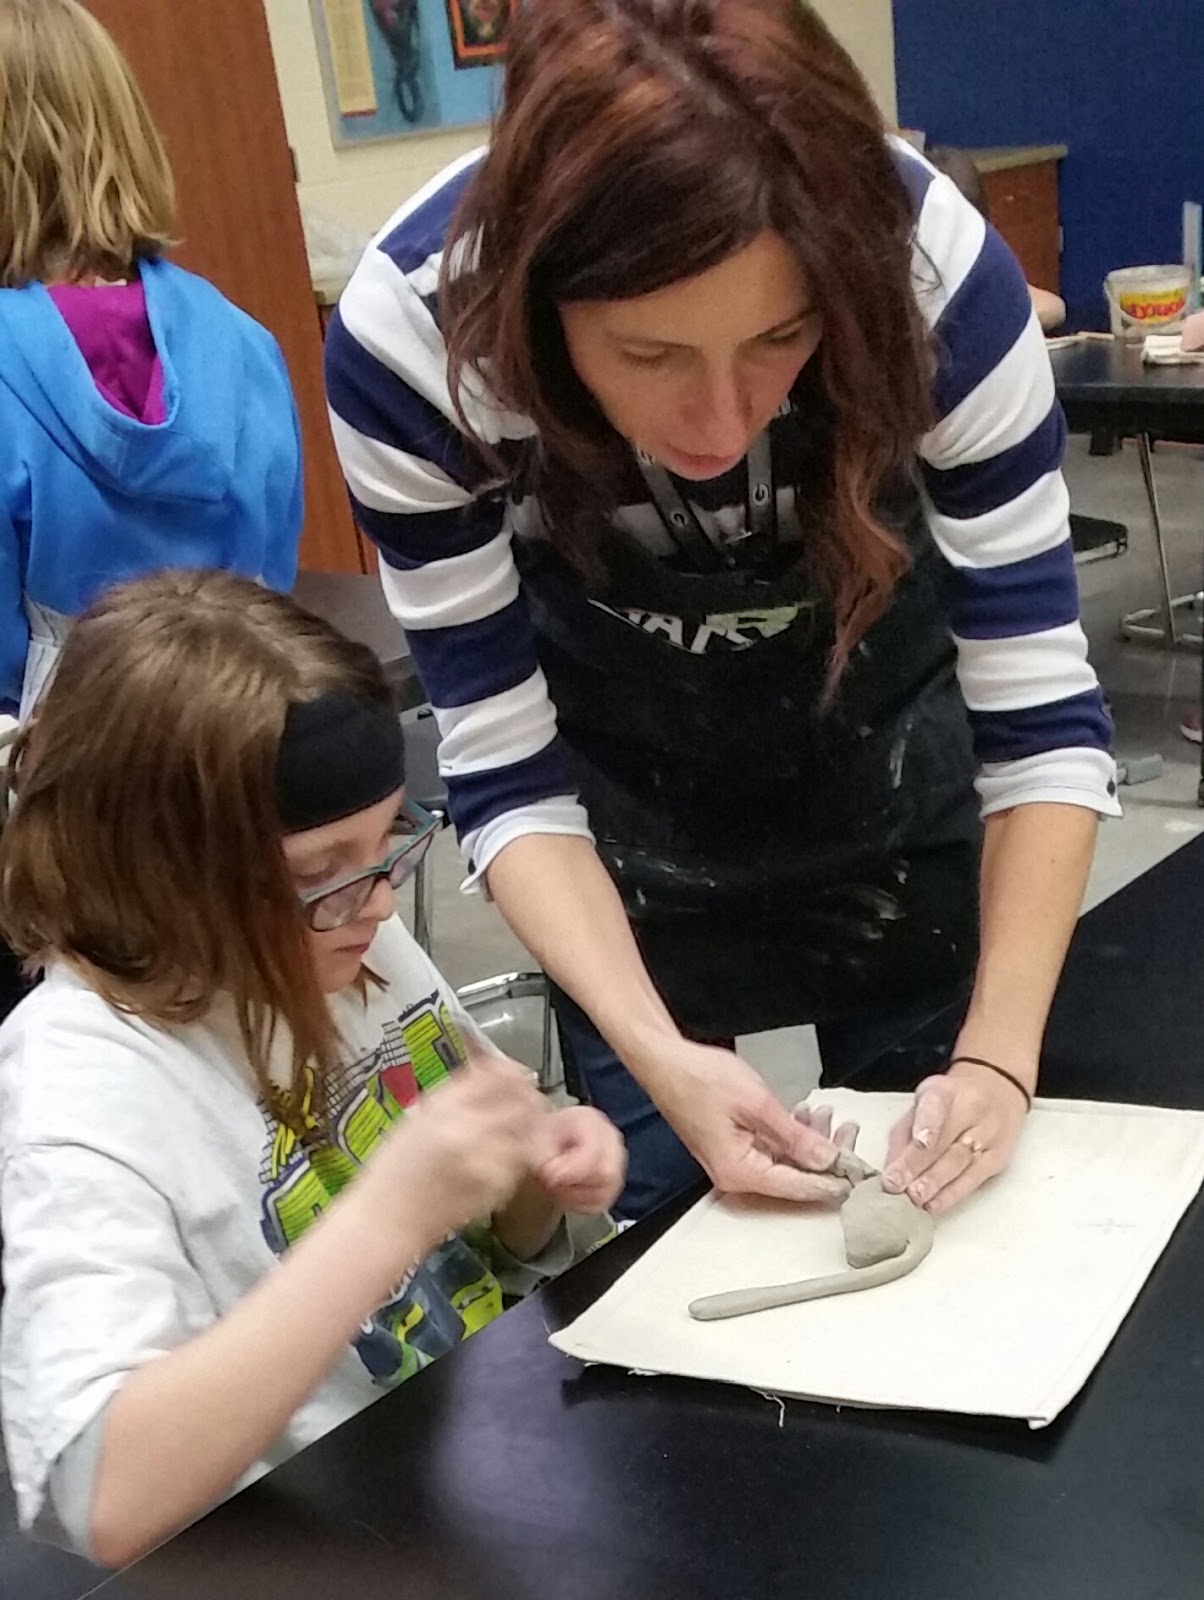
This year I had an improvement over the leg design.  Instead of using a slab method, I chose a coil. It seemed to be more successful for the students to manage on their own.  I love when you have a great lesson and then just like magic, a better way to implement part of it makes even more awesome.  :)
Offering a little assistance.

All in a days work.