
2 class periods
 |
| Ceramic Cupcakes, Second Grade Lesson |
 |
| Ceramic Cupcakes, Second Grade Art Lesson |
We use one class period to create these cupcakes out of clay (class period is 50 minutes).
Our first step was to create the cupcake wrapper. I use silicone cupcake liners as our mold for this project. I give each student a piece of saran wrap which they set into the cupcake liner. This allows the clay to come out much easier. We place a golf ball size of clay into the liner. I demonstrate to students how to create a pinch pot from the clay.


Step two requires a review demonstration of slip and score technique. Students use a small clay rectangle shape slab to create two pieces that they attach to the cupcake wrapper to prevent the lid from falling off after it is fired. After these are attached, I go around the room and trim them down for the students.

Students are next given another golf ball size of clay. From this clay they create another pinch pot to represent the top of the cupcake. Students need to make sure that the top of the cupcake fits over the tabs they created in the cupcake liner before moving on to the next step.

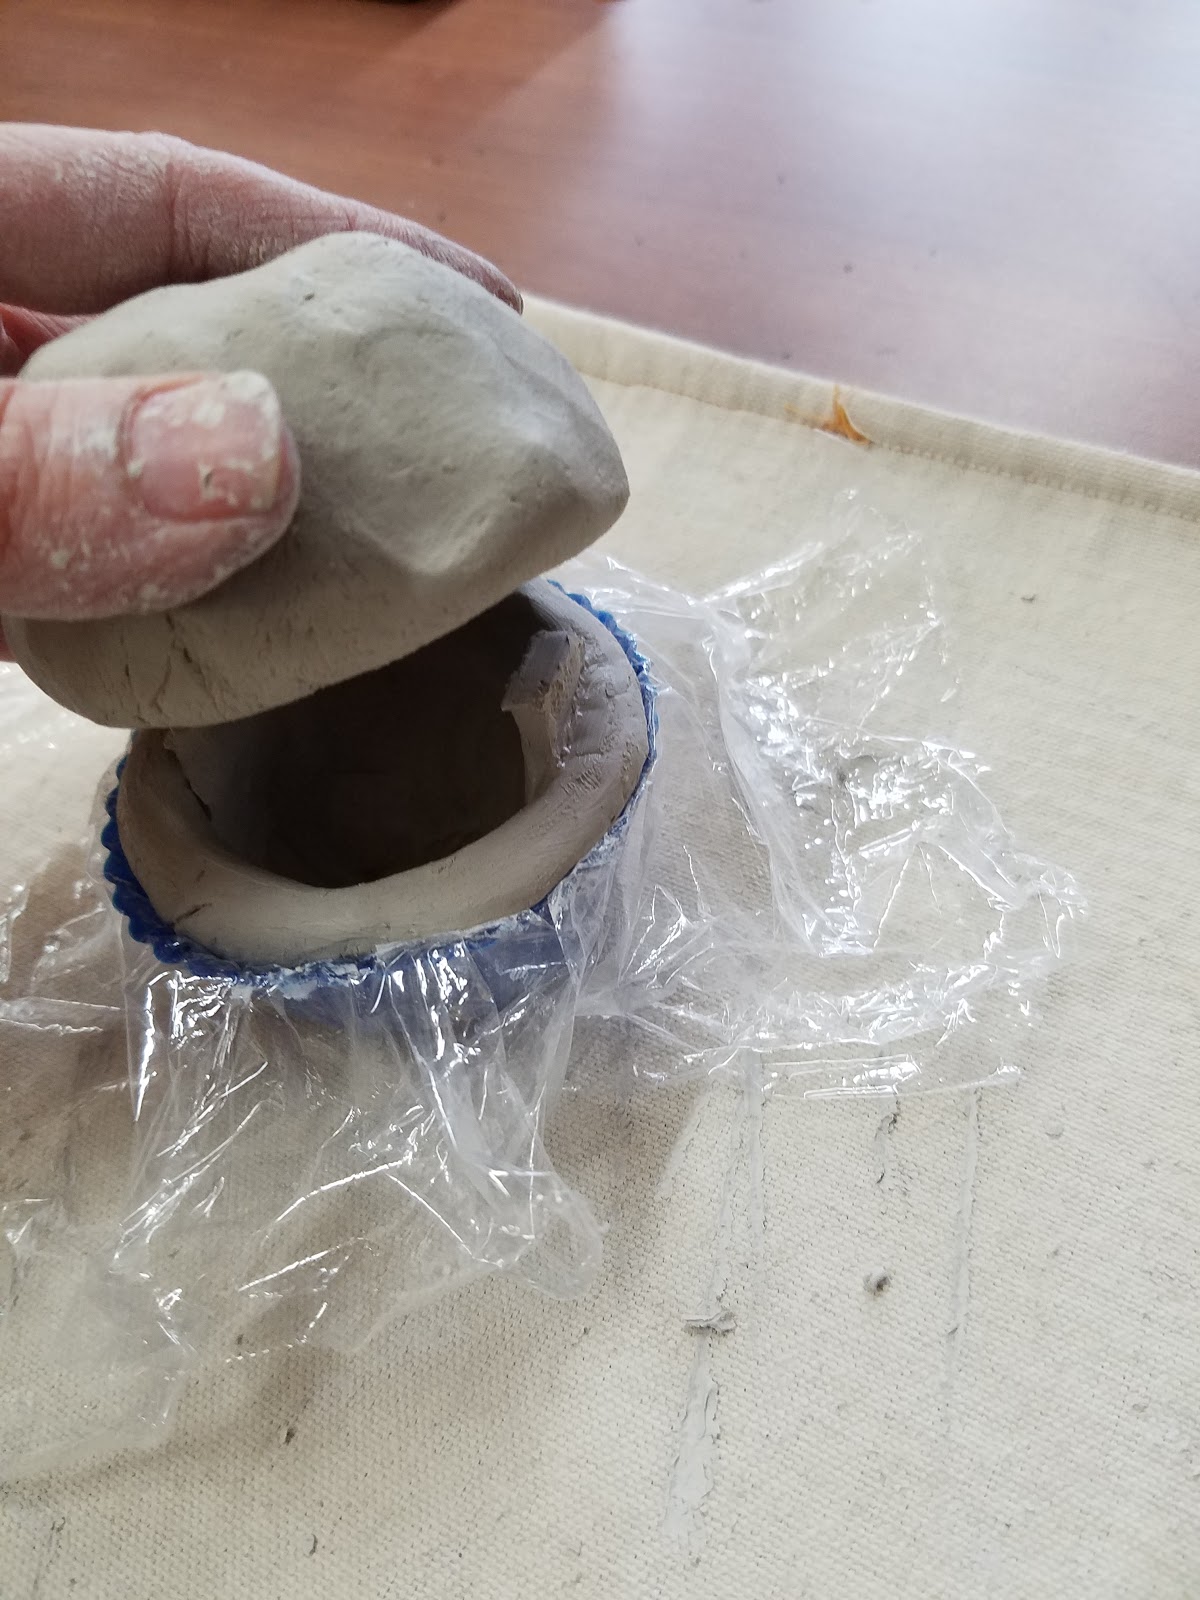 |
| Make sure lid fits over tabs. |
The last step for this lesson is to add details to their frosting (sprinkles, cherries, strawberries, etc.). Students that would like to add a candle after the piece is complete, poke a hole into the cupcake top so we have a place to glue it into after it is glazed. We used real candles, but you certainly could have your students make them out of clay.
Finally, we removed the silicone liner and redraw some of the lines on the clay wrapper. Students write their name and class code on the bottom of their project. We allow it to dry a day or two before placing it in the kiln.
 |
| Cupcakes air drying before first firing. |
Day 2:
The second day of this lesson is a glazing class period. I provide students with basic knowledge about glazing and the firing process.
I had students complete a brainstorm sheet prior to this lesson on planning out their glaze colors. I, also limited glaze color selection for each piece of the cupcake to help with distribution and clean up. Student were given four glaze color choices for the wrapper and then four choices for the frosting. Having them deciding ahead of time on their color selection creates a smoother and more productive class period on glaze day.
 |
| Brainstorming our glazing plan for our cupcakes. |
After the projects come of the kiln the second time, I hot glue candles to the projects that requested it and a brown pipe cleaner to create the stems of the cherries.
Students were very excited to make these very delicious looking storage containers. I hope you are as amazed as I am with the results of this project!
Student Examples:


No comments:
Post a Comment