
7 Class Periods
 |
| Clay Birdhouse, Sixth Grade Art Lesson |
Day 1:
Go over clay vocabulary: Clay, Slab, Slip, Score, Greenware, Bisqueware, Glazeware, Kiln. Show examples of previous clay birdhouse projects. Have students brainstorm ideas of what they may want their clay birdhouse to look like.
 |
| Sketchbook planning. |
Demonstrate to students how to roll out a clay slab. Using patterns that I created before the beginning of class, have students roll out the three slabs for the wall of their birdhouse, the roof and the base.
 |
| Using patterns to roll out slab pieces. |
Wrap pieces in damp paper towel, place in bag and store until the next class period.
Day 3:
Begin class by having students take out the wall slab. Have students create designs on the surface of the clay. I demonstrate to students how to create texture on the surface of the clay by pushing items into the surface, such as beads, legos, stamps, etc. I also, demonstrate to students how they can draw on the surface with a needle tool.
 |
| Design wall of birdhouse. |
After the designing of the wall is complete, we begin to assemble the pieces using the slip and score technique. Before we attach the roof, we stuff the birdhouse with paper towel. This will be removed later.
 |
| Stuff birdhouse with paper towel before attaching roof. |
Once pieces are assembled, the birdhouse is wrapped in a damp paper towel and placed in bag and stored until next class period.
Day 4:
Student use this class period to create the hole in the wall for the bird to enter. We also poke a hole near the bottom of the hole, so we can later attach a perch for the bird to rest on. A hole is also poked through the center of the roof so we can attach a rope for the birdhouse to hang.
 |
| Adding details to birdhouse. |
Any other items that students want to add with additional clay is added at this time. Students are encouraged to be creative!
Pieces are then set out to dry. Remember to have students write name on the bottom of the birdhouse.
 |
| Write name and class code on the bottom of the birdhouse. It is sometimes easier to do this step before the roof is attached. |
*Before placing pieces in kiln, I gently remove the paper towel through the birdhouse hole opening.
 |
| Pieces ready for glazing. |
Day 5-6:
After pieces are pulled from the kiln, students glaze their birdhouses. This may take 1 to 2 class periods. Glazing tips are discussed. I also, remind students to be careful not to plug up the holes with glaze.
 |
| I have glazes put in disposable containers. Much easier to share and distribute. |
Day 7:
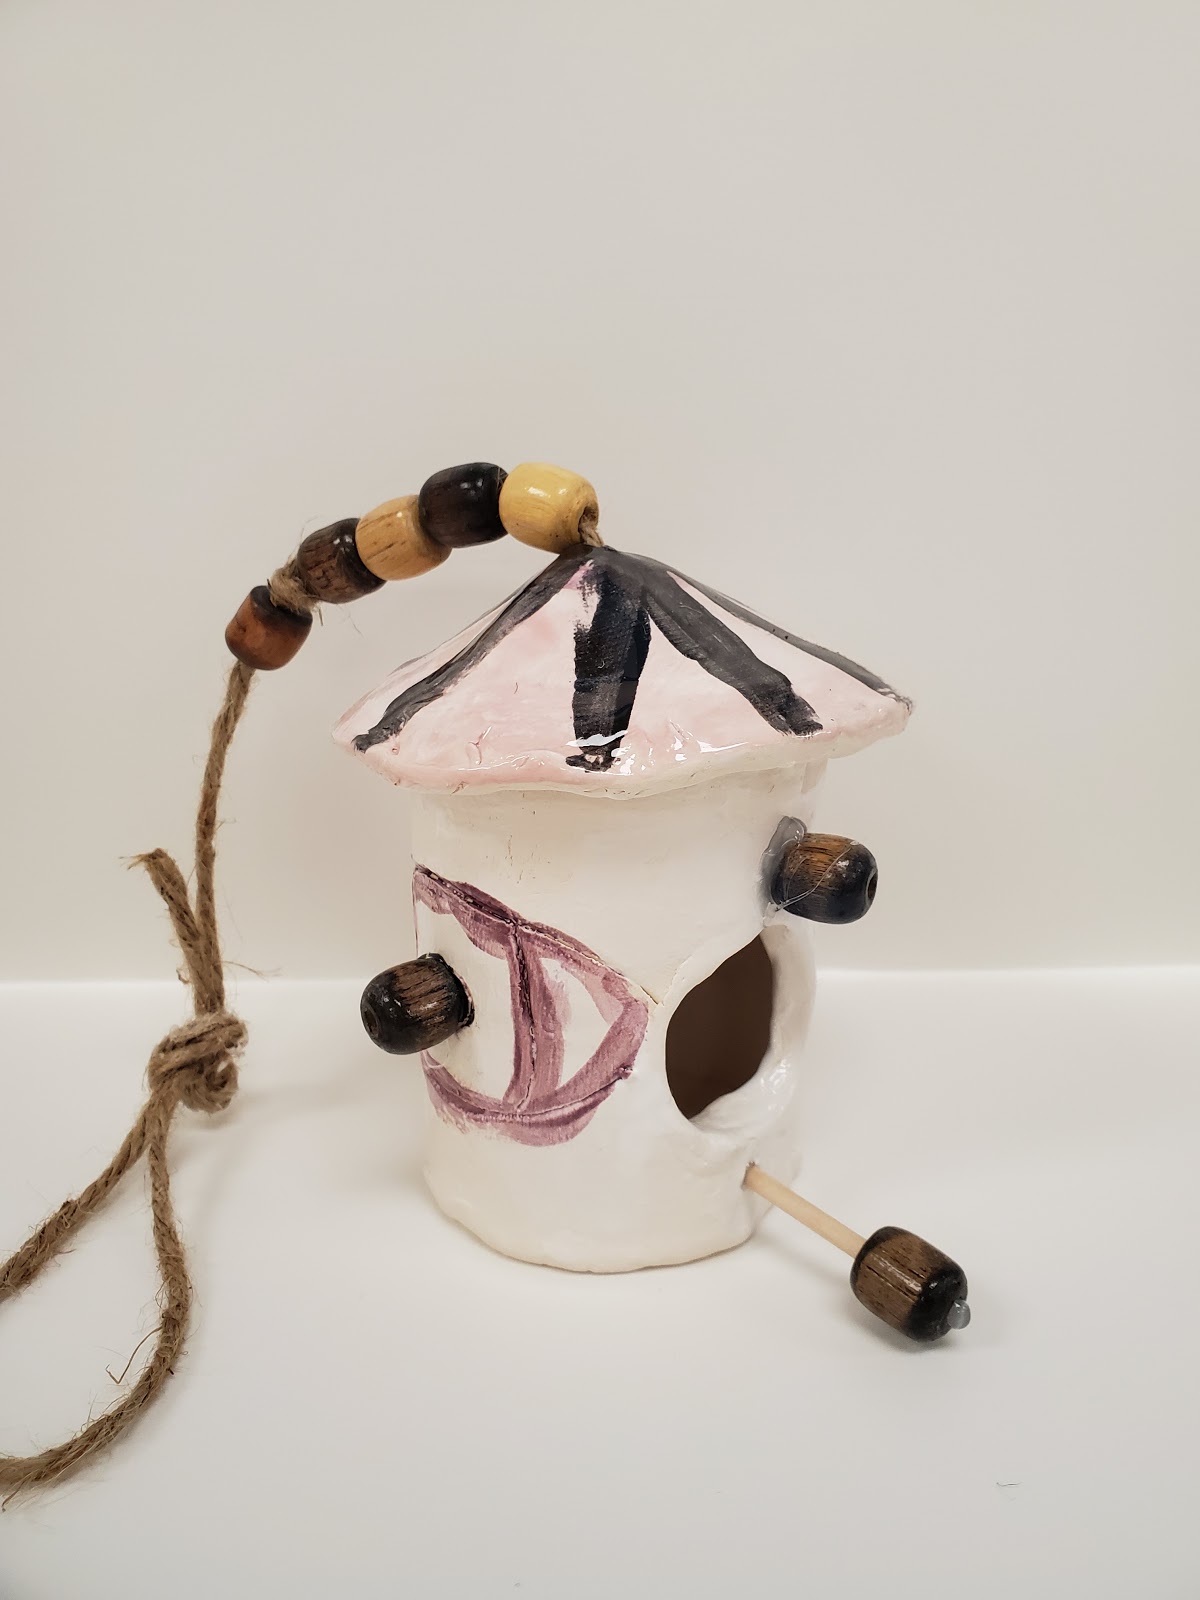
Students use this day to attach the rope for hanging and the bird perch. Students are also required on this day to complete a self-evaluation of their project.
Student Examples:


No comments:
Post a Comment