
Sixth Grade Art
4 to 5 class periods (40 minutes each)

Day 1:
On the first day of this lesson the following vocabulary words were discussed: abstract art, complementary colors, tints, shades, negative space and positive space. I like having students write down their vocabulary words on the back of their assignment. Once we were done note taking, we created a border on our 12 x 18 inch paper using a ruler.

Using some circle templates (lids work well for this) have students trace circles into their composition. I had them draw 4 to 5 large circles and 8 to 9 small circles. Circles can overlap or look like they are entering or leaving the composition. Circles should not go outside the border area.

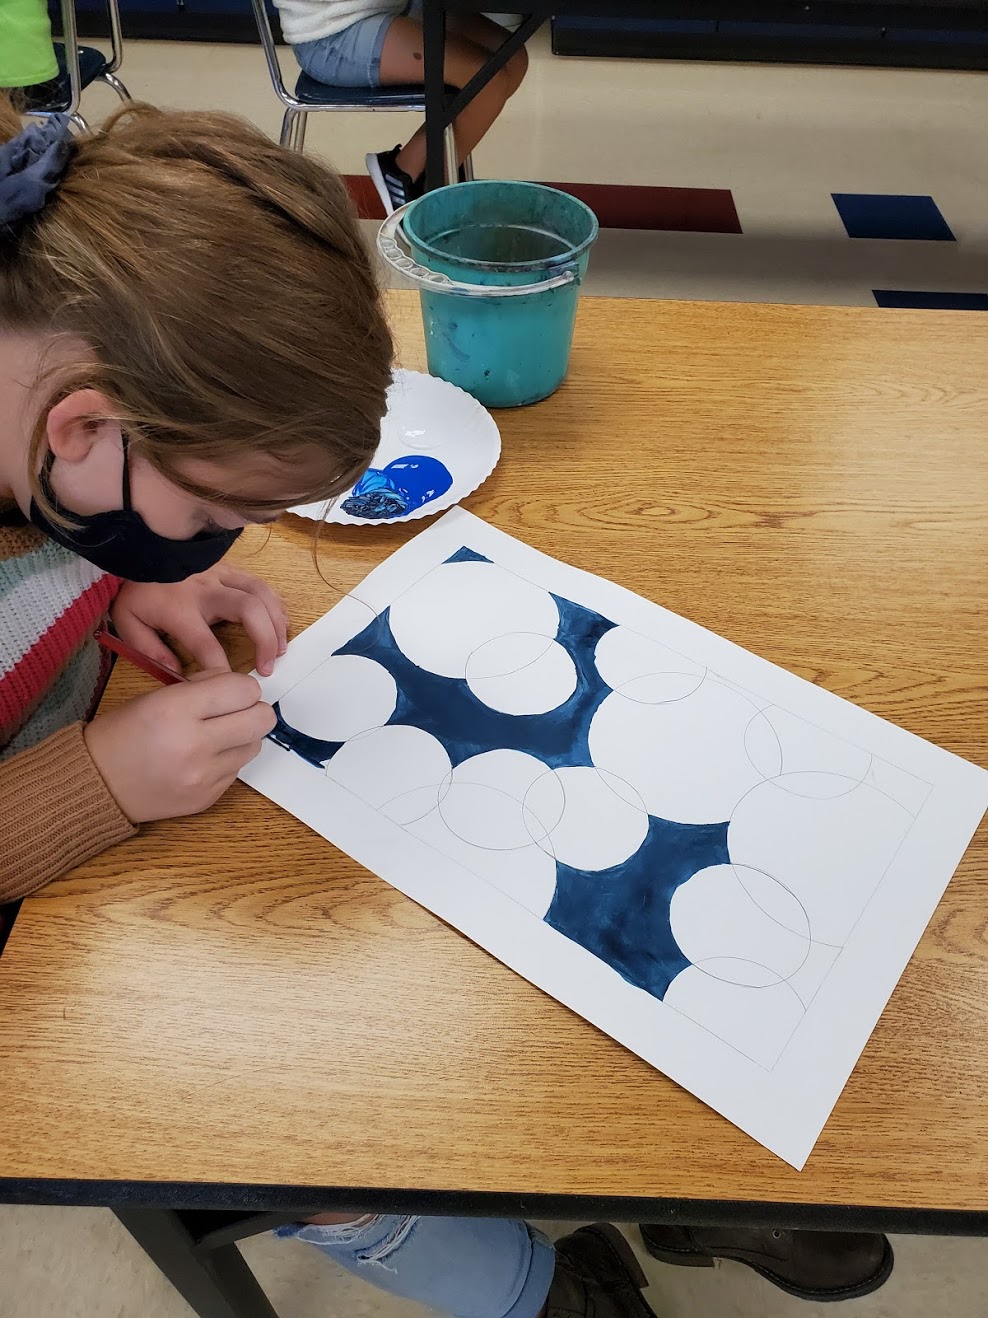
If class time allows, have student take one of the colors of their complementary color scheme and create a shade with it. I demonstrate to student how to carefully add black to the hue. You want to add a tiny bit at a time so that the color does not get too dark too fast. Using this color, students may begin to paint the negative space within the composition.

Day 2:
Students begin class by finishing the negative space of their backgrounds. I made sure students paid attention to how they mixed the color the class before so they could mix it again if they needed to.
Next, I have students count the number of spaces they have left to paint in their composition and divide that number in half. Example, if a student says they have 20 spaces on their paper to paint, I inform them that they will be painting 10 spaces today.
Using the same complementary hue as the previous class students are now shown how to create tints. For the remainder of the class period they paint the circles and parts of the circles using shades and tints of that hue. Remind students to leave some circles white for the complementary color's opposite hue (that will be done during the next class period).

Day 3:
Today we use the complementary color's opposite to paint the remaining circles. Students once again create tints and shades of this color. If they finish, they can go back and paint any areas that they did not complete from the class period before.

Day 4 and Day 5:
Depending on how slowly your class works you may need an additional day for painting. The very last step is to outline with black paint 6 circles. I inform students that these may be circles that seem a bit messy to you and would look better if they were touched up a bit.

Again, stress craftsmanship for this lesson. I found this lesson to be very relaxing and peaceful. Student love to mix paint! You could hear a pin drop they were so quiet concentrating on being careful with their brush.
Student Examples:


No comments:
Post a Comment