Friday, June 20, 2014

Binding a Cereal Box Art Journal

How to Bind a Cereal Box Art Journal Using a Japanese Binding Stitch

Materials:
Ruler and Pencil
Hammer
Nail
Scissors
Clothes pins
Embroidery thread
Darning needle

Steps:
1.  Using a ruler mark every two inches on the side seam of the sketchbook.  (For older students you can increase the holes by marking every inch vs. every two inches).


2.   Place two clothes pins on the sketchbook to hold all the pages secure.

3.  Taking a hammer and nail, create a hole in each marked area on the side seam.  Remember, you only need to hammer hard enough to go through the paper.  Wiggle the nail a tiny bit to make the hole a little larger before pulling it out.


4.  Cut a yard of embroidery thread in your favorite color.  Thread it on the darning needle.  No knots are necessary, but can be created to make it easier for younger students to keep the thread on the needle.

5.  This step is optional, but holes can be numbered to help students understand the directions for the stitching.


6.  Place tail of the thread under the top clothes pin.  This acts like an extra hand to keep the tail of the thread from slipping through the hole.

7.  Dive down hole number 1.  Remind students to pull slowly to avoid knots forming in the thread.


8.  The next step is a basic sewing stitch.  Have the students take the needle and go up hole 2, dive down hole 3 and go back up hole 4.

9.  Take the thread and wrap it around the bottom edge of the sketchbook.  Bring the needle back up through hole 4.


10.  Once again, wrap the thread around the spine of the sketchbook.  Bring the needle back up through hole 4.  It will form what looks like a letter "L" in the corner of the book.


11.  Take the needle and dive down hole 3.


12.  Wrap the needle around the spine and dive back down into hole 3.


13.  Repeat this step for hole 2 and hole 1.


14. Wrap around the top of the book, place needle under the stitch that wraps around the spine.
15.  Remove the needle and tie the two ends together in a knot.  Remove clothes pins.
16.  Beads can be added as decoration. (Erase guide numbers if used).


17.  Open book to crease pages.  Being to draw!


Thursday, June 19, 2014

Creating Cereal Box Art Journal


How to Create a Cereal Box Art Journal

Materials Needed:
Cereal box
12 x 18 inch paper (We used construction paper, but you could use gift wrap, wall paper, etc.)
Inside paper 7 1/2 x 9 1/2 inches (single sheets) or 15 x 9 1/2 inches folded
Paper for inside cover 15 1/2 x 9 1/2 inches
Clothes pins
Glue
Stapler and staples (We used a Japanese binding stitch in class).

Steps:
1.  Open up the cereal box along the side seam.


2. Refold down the center of the side that does not have the seam.


3.  Cut the folded box into an 8 x 10 inch rectangle.


4.  Center the flattened cereal box to the 12 x 18 inch cover paper.  Glue together.


5.  Fold and glue the sides and corners of the construction paper to the inside of the cereal box.


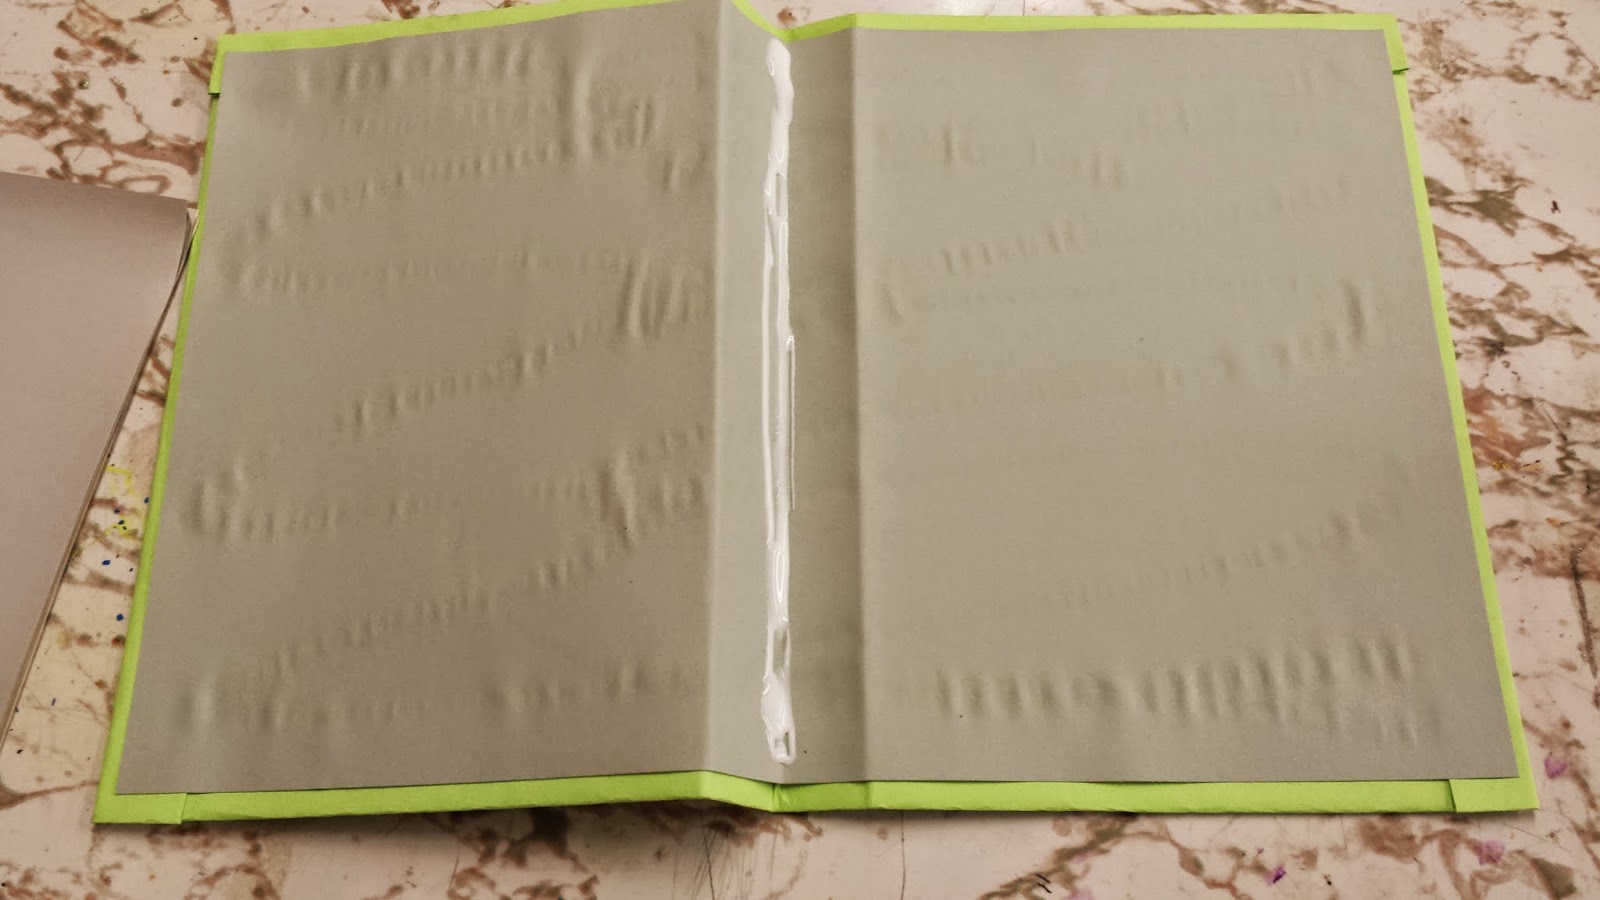
6.  Next glue the paper for inside cover (15 1/2 x 9 1/2 inches) on the inside of the cereal box to cover the cardboard and the folded edges from the cover.


7.  Let sketchbook dry a moment or two before moving on to the next step.

8.  Fold the cover in half.  Now fold each side back along the side seam to create a "V" shape in the middle.


9.  Count out the pages you want for the inside and staple pages together.  (For our sketchbook we used 15 to 20 pieces of single paper. We did not staple the pages due to the fact we did a Japanese Binding Stitch instead).

10.  Put glue into the "V" and add the stapled end of the paper stack.


11.  Put clothes pins on the ends to help hold it while drying.


12.  Once dry, remove clothes pins and SKETCH!


Friday, June 6, 2014

Last Week of School

What is an art teacher to do during the last week of school?  In my classes we wrap up our sub lesson that we have been working on for the school year when I am gone and as a special treat I face paint for the students.  It's been a crazy, yet happy week! 

Happy Summer Everyone! 


Wednesday, June 4, 2014

Picasso Portraits

Third grade students had a great time wrapping up the school year with this lesson on Picasso.  A special thank you to Brion's Grocery store in Cameron, WI and Gordy's County Market in Rice Lake, WI for donating paper bags for our students to use for this project.


To learn more about this lesson and see more examples check out my link Picasso Portraits.

Thursday, May 29, 2014

Weaving Buddies

Weaving Buddies, Second Grade Art Lesson
My second grade students are wrapping up the school year with this fun weaving project.  Here are a few of the examples from this year's group.  If you would like to learn more about the details to this lesson or see more examples from previous years check out this Weaving Buddies link.