Monday, April 16, 2018

A New Splash on Gyotaku

Fifth Grade
3 to 4 Class Periods
Gyotaku Fish Print, Fifth Grade Art Lesson
Day 1:
I had students begin this lesson by viewing two different youtube clips on Gyotaku.  To reference one of them you can check out my previous post Gyotaku Fish Print.  The other youtube clip I stubbled across last summer and you can view it here: Gyotaku: The Ancient Art of Japanese Fish Printing.

I then gave students a demonstration on how to create a fish print.  We discussed the vocabulary related to printmaking, how to label our paper and and tips on how to get a quality print.  Students were told that they would be divided up into groups next class period to print.  Each student were told they would be required to create two prints.

For the remaining of the class period, we discussed the beautiful colors, creatures and plants one would see under the ocean.  I had many photos printed out and set on the table for student reference.  Student set to work on creating an underwater ocean seascape on 12 x 18 inch black construction paper using colored pencils.

Day 2:
Students were broken into small groups on this day to tackle printing making.  I had some groups continue working on their seascape background and others printing.  As groups finished printing, they then switched with a group that was using colored pencils.
Printing the fish.


Day 3 & 4:
On this day, students were shown how to add detail to their fish print with colored pencils (such as popping out the eyes, attaching fins and adding scales).  After details were added, students continued to add details to the background of their seascape.
Adding details to fish print using colored pencils.
When backgrounds are completed, students carefully bubble cut around their fish prints and then glued them to their compositions.  Students were given the choice of only using one print or both.  We discussed different compositions options.

Student Examples:


Going Big with Haring

First Grade
1 class period
Going Big with Haring, First Grade Art Project
Day 1:
If time allows, I love to add on this fun Keith Haring project with my students.  This year, I did it with one of my first grade groups that were getting further ahead on their projects in relation to the other sections I teach.  It was great way to reinforce what they have been learning as well as allowing my other sections an extra day to catch up.

I began by having large pieces of white kraft paper torn and ready to go.  I decided to have each table group work on one painting.  I currently have 5 tables in my classroom, so we made 5 figures.   Each group had 3 to 4 students working at it.

One member of the group was selected to be the model for the drawing.  I would then trace the student very quickly with a pencil.  Students loved watching this and were amazed when they rolled off the paper to see what they looked like.

Tracing students with pencil.

As a team, students had to discuss and agree on the color they were going to paint their person.  Once they agreed on a color, I distributed the paint and they set off to work painting in the figure completely.


Painting figures.
When groups finished painting, we took black liquid tempera paint and outlined the figured. We added a few motion lines and then set the work off to the side to dry.


Wednesday, March 21, 2018

Complementary Haring

First Grade
3 Class Periods
Complementary Haring, First Grade Art Lesson


Day 1:
Prior to this lesson, students had a unit learning about the human form.  Students learned basic body proportions and basic anatomy.

We kicked off this project by learning about artist Keith Haring.  I have done a project with my first grade students on Keith Haring in previous years, but this is just a new idea for teaching the concepts of the lesson.  To view my previous lesson or to learn more about artist Keith Haring check out my link to my blog: Moving With Haring.

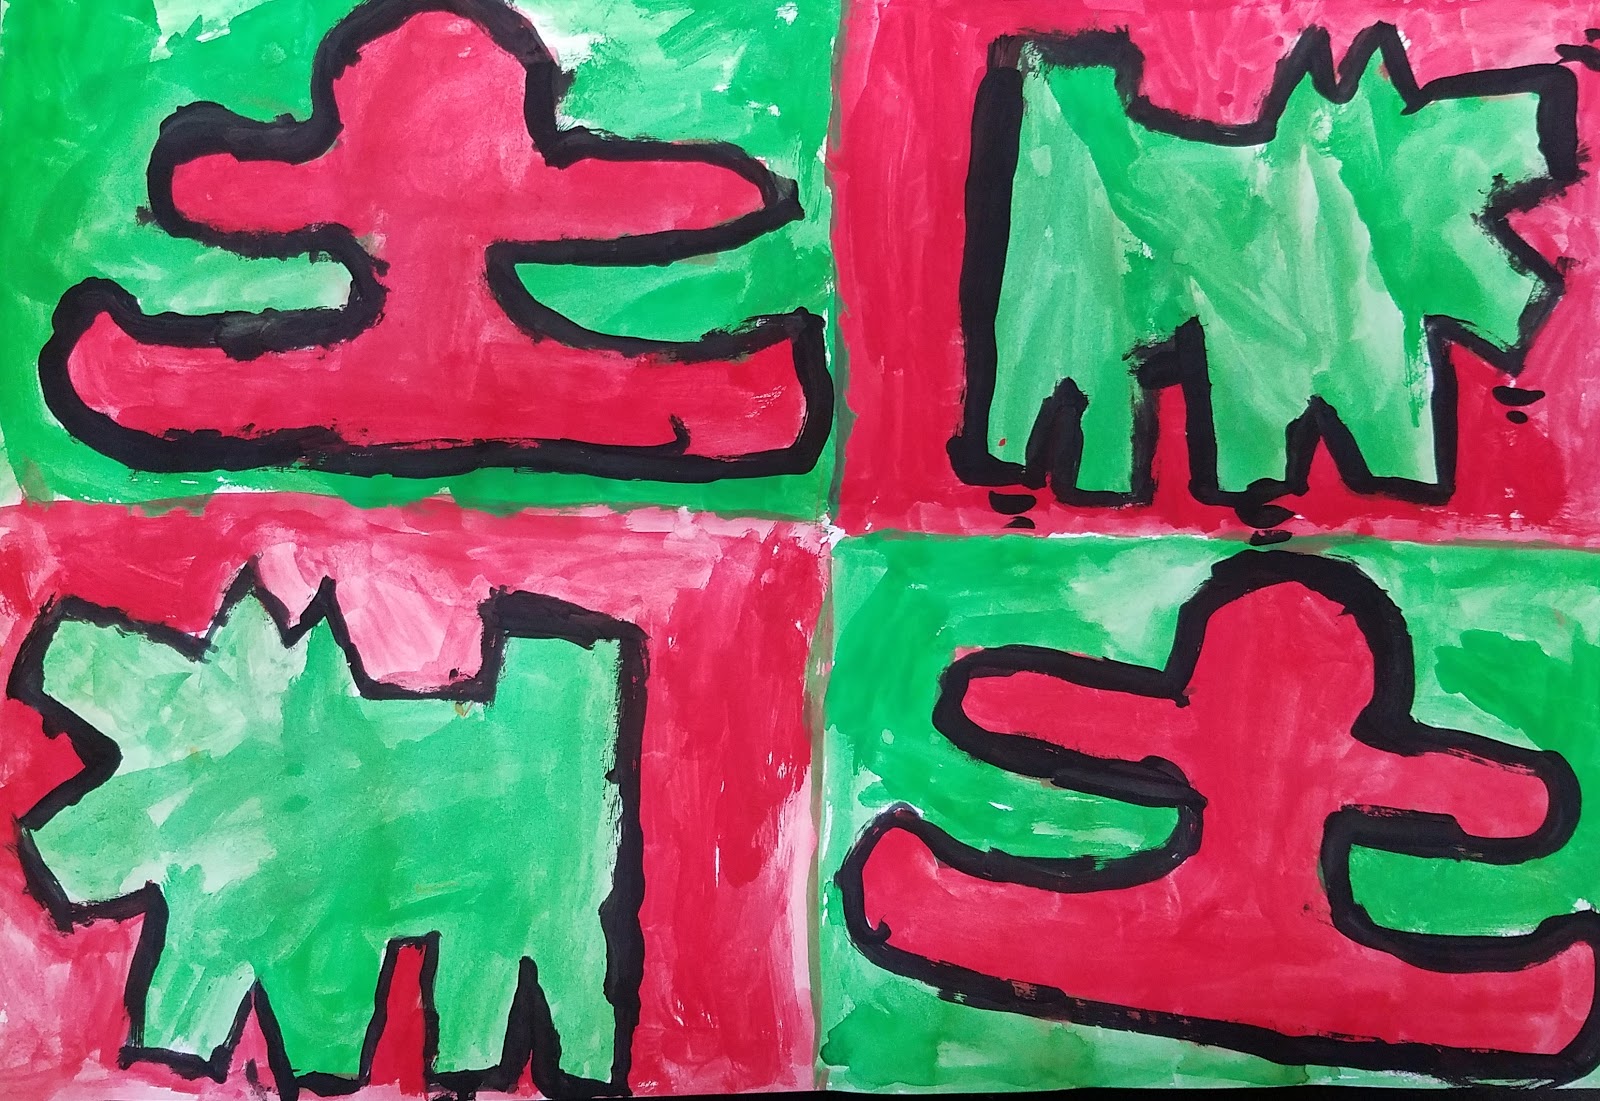
After learning about the artist, student took a piece of 12 x 18 inch paper and folded it in half and then in half again to form 4 rectangles.

In each rectangle, students traced a Keith Haring figure stencil.  (I made numerous stencils based off of Haring's work.  Students choice the stencils they liked best.)  I limited their designs to one or two stencils.

Day 2:
On the second day of art, I shared with students a youtube clip that I discovered on artist Keith Haring.  Keith Haring Was Here After the video we have a great discussion about Graffiti art.  We also discuss how fast Keith could paint. Students loved this youtube clip.  I think it is wonderful when they can actually hear the artist speak about their work and see them working on their art.

As a class we have discussed complementary color schemes in earlier lessons.  So today we reviewed what we remembered about complementary colors (yellow-violet, blue-orange, and red-green).  Students were instructed that they could only pick one complementary color scheme to paint their compositions.  Students were given a demonstration on how to paint each box as an opposite of the box next to it.  We also discussed, allowing paint to dry in areas before painting next to it to avoid our colors blending.
Painting complementary colors.

Day 3:
On this day, students finished up painting their compositions with the tempera cakes using their complementary color scheme.

As our finishing touch, I had students use a tiny brush and liquid black tempera to outline their pieces.  We discussed adding the motion lines, that Keith is so famous for in his artwork.  Students were given tips on how to hold their brush for better control.
Outlining composition.


Student Examples:


Monday, March 19, 2018

Happy Youth Art Month 2018

We had another great show this year!  This is my ninth year putting together this show.  I am already looking forward to making year 10 the best exhibit we have had so far.
Setting up the show.

The following photos are from our opening reception.  We had eight school districts participate this year, 18 teachers who participated and over 500 pieces of art!


Friday, March 2, 2018

Concentric Circle Flower Bouquets

Third Grade Art Lesson
3 Class Periods
Concentric Circle Flower Bouquets, Third Grade Art Lesson
Day 1:
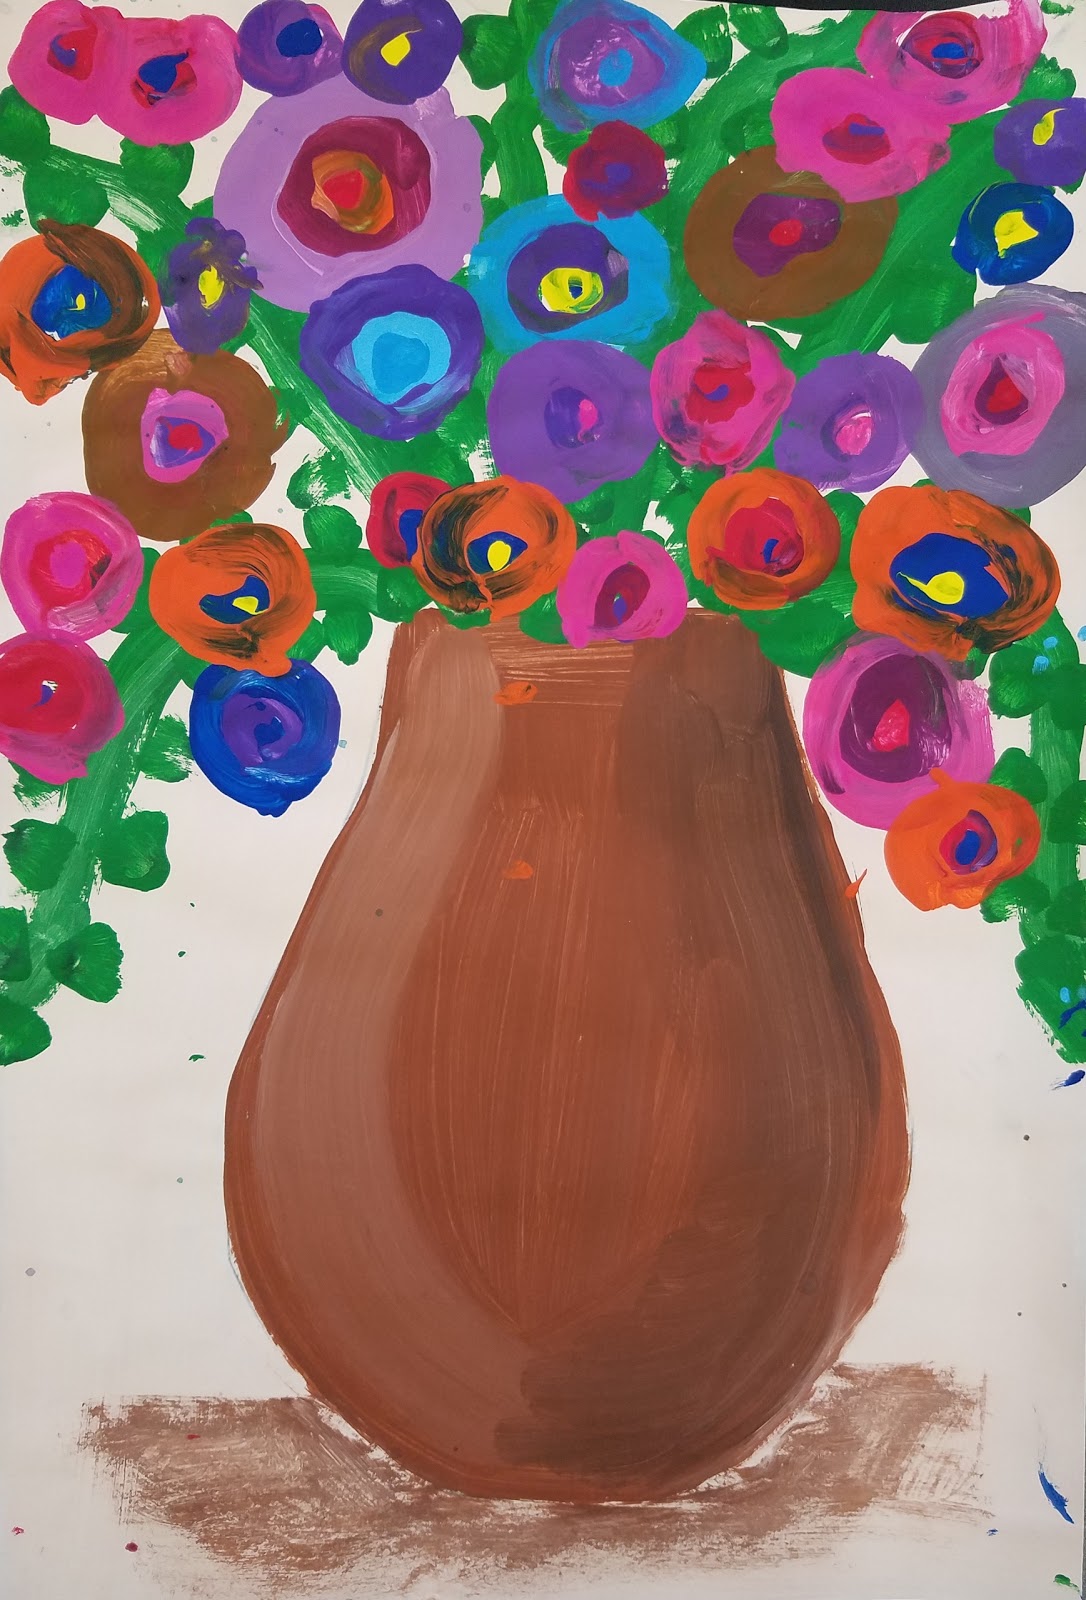
On day one of this lesson students drew a vase on a piece of 12 x 18 inch paper.  To make this part a bit easier for my third graders I gave them a stencil I had already designed to trace.

After it was traced we painted the background of the composition.  I had each class use a different color.  The colors I used were blue, green, yellow, pink, and orange.  We added white to this color to create a tint.  Students were asked to paint carefully around the vase.

Next we painted the vase brown.   Student were shown on to create a highlight and a shadow on the vase to help the vase look three-dimensional.

After painting our vase, I had students take a paper towel and dry their brush the best they could...no water...using the dry brush, still filled with a bit of brown paint we dry brushed a shadow under the vase to create the table shadow.

Projects were placed on the drying rack to dry.

Day 2:
We began class with a demonstration on how to create leaves and vines for their bouquets.  I asked students to create 5 to 7 vines and then showed them out to push and fan out their brush on the paper to create leaves on the vine.
Vines and leaves added to the vase.
Once the leaves were in place, we discussed the concept of concentric circles.  Students were shown how to create dots on their paper with paint and then how to paint circles around the dots.  Students were allowed to choose their own palette for their flowers.
Creating concentric circle flowers.


Once the bouquet was filled with flowers, students placed their work on the drying rack to dry.

Day 3:
We used this class period to create another layer of concentric flowers.  I encourage students to make as many as they could so we would have full bouquets.  Overlapping and range of sizes of circles were encouraged.

Student Examples: