
Second Grade Art Lesson
3 Class Periods (50 minutes per class)


About the Artist Studied
Edvard Munch (1863-1944) is an expressionist/symbolist painter from Norway. His paintings are very dark and dreary. They reflect the emotions he had dealing with multiple deaths within his family. His most famous painting is entitled The Scream or The Cry. It is painted on a piece of cardboard with oil pastels and tempera paints. The artist made four versions of this painting during his lifetime. Each is worth an estimated $80 million dollars. In the spring of 2012, one of the versions sold at a New York action for $120 million dollars.

Students will examine and discuss the famous painting The Scream and the artist who created the piece: Edvard Munch. As a class we also examined and discussed several parodies of The Scream. Students highly enjoyed these and much laughter filled the classroom.
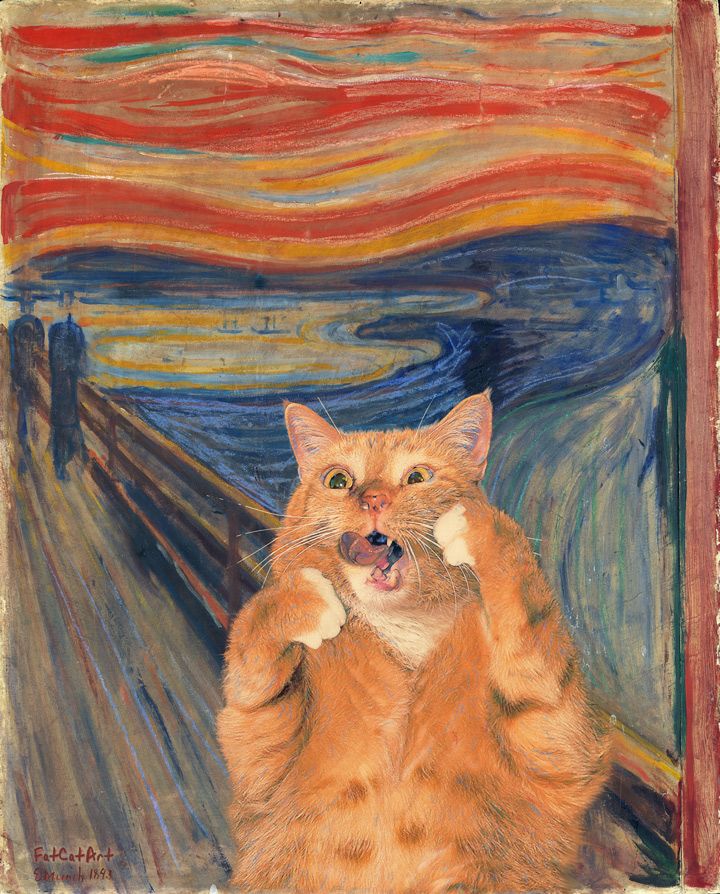

Parodies of The Scream.
Students created a background similar to theThe Scream through follow along demonstration. Instructions were given on how to color the background to make it appear similar to the original painting. We used oil pastel to color our composition.
While students are coloring their compositions, pull them aside one at a time to photograph them "acting out" a scream. Print the photos for next class session.
Day 2
Have students finish coloring their compositions on this day.
Day 3
Pass back to student their photograph taken on day 1. Demonstrate to the class how to carefully cut around their photograph and how to place it parallel to the bottom of their paper. We use bottle glue to glue our photograph on versus a glue stick. I don't feel that the adhesive from the glue stick bonds that well to oil pastels.
Students are then given a small container of baby oil and a paint brush. I demonstrate to the students how to paint over the oil pastel with the baby oil. Students "Oooh and Aaah" over this part. Added bonus, the room smells nice, too.
A couple of tips:
Be careful not to put baby oil over the photograph, it will stain the photo with a grease spot.
Have students paint one color at a time with the baby oil or the colors can get a bit murky.
Student Examples:


No comments:
Post a Comment