Friday, April 17, 2020

Crazy Busy Art Room Art Prompt 21

Happy Friday Artists!  Today we are going to make the face of a fox.


Supplies Needed: a paper plate (if you don't have a paper plate you can just cut a piece of white paper into a large circle), a piece of black and orange construction paper (if you don't have construction paper, plain paper will work fine), watercolor paints, a paint brush, scissors and glue.


I have posted photos to help with the steps, but please read through the directions for any additional directions.

Step 1:  Paint a paper plate orange or red-orange in color.  If you don't have paper plates at home,  cut a large circle out of a piece of plain paper and paint it orange.  You want the circle to be roughly the size of a plate.  If you are struggling with getting the circle large enough,  use a kitchen plate or an ice cream lid as a stencil to get the correct size.

Step 2:  If you have black and orange construction paper you can skip this step.  If you do not have construction paper at home right now, paint a plain piece of paper half orange and half black with your watercolor paints.


Step 3:  Once the paper plate is dry, fold the edge of plate on one side.  Please note, this is not a center fold, it is more of a 1/4 fold of the plate.

Step 4:  Fold the other side of the paper plate so that the 2nd fold overlaps the first to form the snout of the fox.


Step 5:  Glue the folded pieces together so they stay in place.


Step 6:  Out of your black paper, cut out a circle to create the nose for your fox.  If you are having trouble creating a circle, the lid on a seasoning container would make a great circle stencil for the nose of your fox.

Step 7:  Take a second piece of black paper or a scrap piece and fold it in half.  It is time to create the eyes of the fox.


Step 8:  Keeping the paper folded, cut out a circle shape.  When you are done cutting you should have 2 circles that are the same size.  If you are stuck on what size circles to make you could use a quarter as a stencil for this step.


Step 9:  Glue the eyes in place.


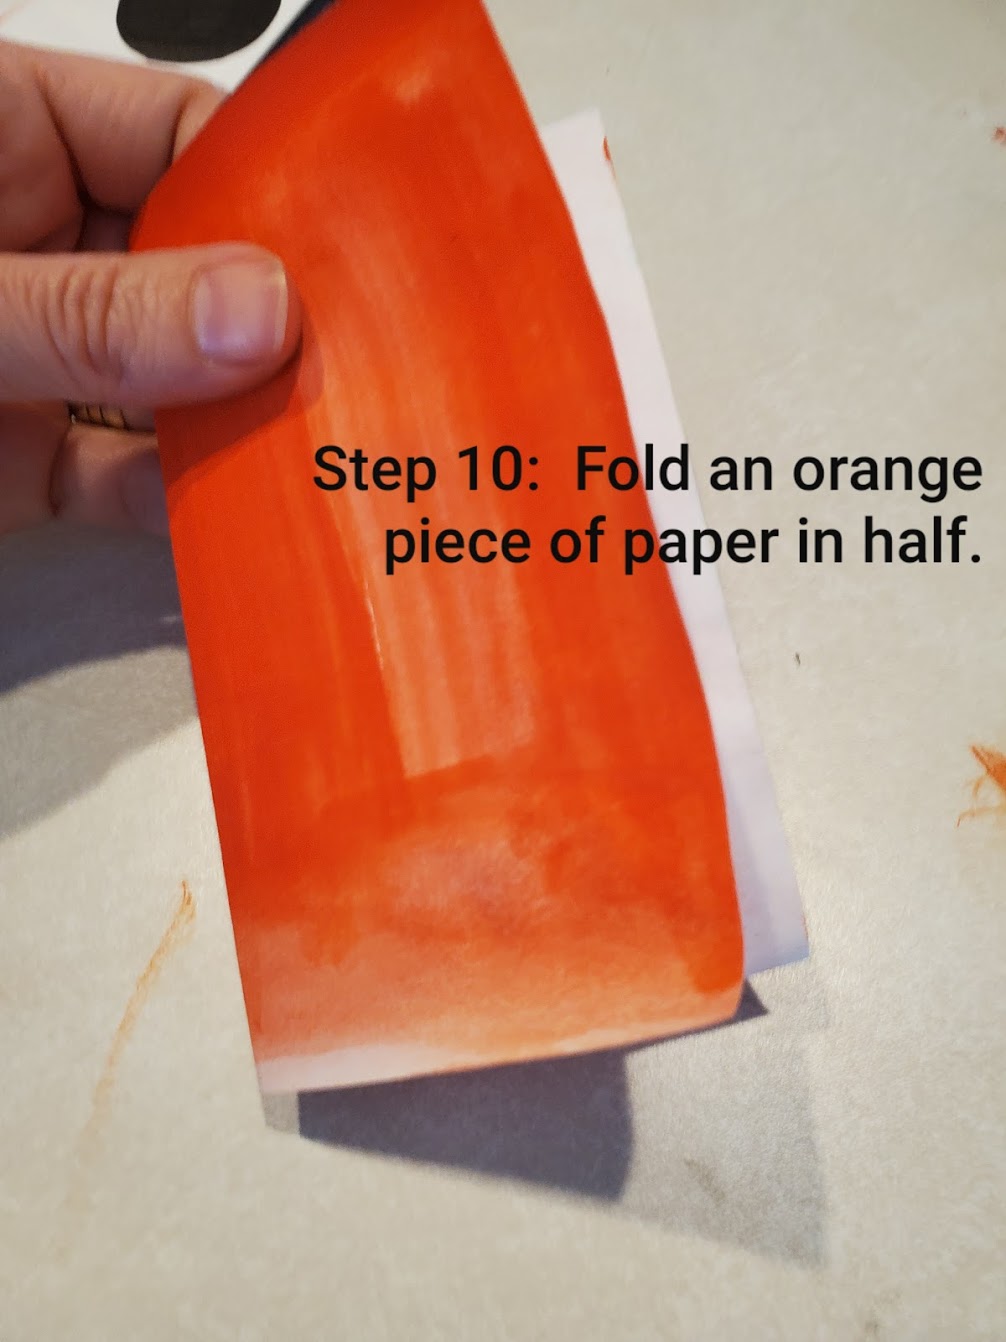
Step 10:  Fold an orange piece of paper in half.  It is not time to make the ears.


Step 11:  Keeping the paper folded, but out a triangle shape to create the ears.  I drew the triangle first with pencil to make sure it was large enough before I cut.  Make these triangles big enough so your fox can hear danger coming.  If you feel they are too big once you place them near the top of his head, trim the triangles down till they feel like they are the right size.

Step 12:  Glue the triangle to the plate to create the ears.  Note that the ears are glued more to the side and not directly in the center of the plate.

Step 13:  This step is optional.  Using a marker, paint or pink piece of construction paper, place a bit of pink inside the ear.

If you thought this was fun, feel free to keep going.  What other types of animal faces could you make out of a paper plate?  Could you make a cat or a dog?  How about a bear or a deer?  

Have a beautiful day!

Love,
Mrs. Cornell

Thursday, April 16, 2020

Crazy Busy Art Room Art Prompt 20

Today we are going to be making a lego person!  We will go over the basic steps on how to create the body of your lego person, then it will be up to you to add the details you need to give your lego person personality.  I decided to turn my lego person into an art teacher.  Who will you create?  Will you create more than one?  Maybe a whole lego family???

Photos of the steps are posted below, but please read through all the instructions for additional information on directions or for creativity options.

Supplies Needed:  paper, pencil, eraser, black marker, crayons or markers

Step 1:  Draw a square near the top of your paper to create the head of your lego person.  Round the corners of the squares.


Step 2:  Add a small rectangle on top of the square.  Round the top two corners on this as well.


Step 3:  Add 2 lines to create the neck.  Draw a horizontal line to begin the shirt.


Step 4:  Draw 2 vertical lines that flat out to create the sides of the body.


Step 5:  Connect the vertical lines with a horizontal line to create the shirt for your lego person.


Step 6:  Add a smaller rectangle shape to the bottom of the shirt.


Step 7:  Draw 2 squares connected to the rectangle to begin to form the legs.  Make sure there is a space between the squares.

Step 8:  Connect the two squares with a small curved line.


Step 9:  Create 2 more squares attached to the squares previously drawn.


Step 10:  Add a rectangle shape to each of the squares.  This will be the feet on your lego person.


Step 11:  Add a curved line coming from the side of the body to form the arm.  Connect it to the bottom of the shirt using a curve line.


Step 12:  Draw a hand for your lego person.  The hand should remind you of a crescent moon shape.


Step 13:  Add a few curved lines to make the sleeve and the hand appear 3D.


Step 14:  Now do this on the other side to form the 2nd arm. (Repeat step 11).


Step 15:  Add the hand.  (See step 12 for reference).


Step 16:  Add the curved lines to make it 3D.  (Review step 13 for reference).


Step 17:  Add details to give your lego person personality.  What will your lego person become?  A teacher?  A nurse?  A superhero?  What details will you need to add to make sure your viewers can identify your lego person?  Be creative!


Step 18:  Outline your drawing to make all those beautiful details pop.


Step 19:  Color your drawing with crayons or markers.

Wednesday, April 15, 2020

Crazy Busy Art Room Art Prompt 19

I am not sure about you, but I need a bit of a booster to remind me that we are in the month of April and not January.  Think Spring! Today we are going to be making a bird in a nest.


Supplies Needed:  2 pieces of paper, pencil, eraser, crayons, markers, watercolor paints or construction paper, glue and scissors.

I do not have access to construction paper right now due to the quarantine, so for this lesson I had to paint my paper to get the colors I need for this project.  If you have construction paper you can skip steps 1-8.

Step 1:  Draw a line to divide a piece of paper in half.  The paper should be horizontal. Refer to photo for help.


Step 2:  On one half of the paper, draw a line to divide that section in half.  Refer to photo for help.


Step 3:  Now divide one of these boxes in half by drawing another line.  Refer to photo for help.


Step 4:  Finally, draw one more line to divide on the lat boxes created in half.  Refer to photo for help.

Step 5:  Paint the largest box a color of your choice.  This will be your bird's body.  If you are using construction paper, pick out a color of your choice for your bird.


Step 6:  Paint the 2nd largest box a color of your choice.  This will become the wings and tail of your bird.  If you are using construction paper, pick out a second piece of paper for the wings and tail.

Step 7:  Paint the 3rd largest box green.  If you have construction paper, you will need a piece of green for the leaves of the nest.

Step 8:  Paint one of the smaller boxes orange, leave the other box white.  If using construction paper you will need a piece of orange and white paper for the beak and eggs.


Step 9:  On your second piece of paper, use crayons to create multiple circles.  Draw circles fast.  We are making the bird's nest.

Step 10:  Keep adding colors.  Make the nest beautiful like a rainbow.


Step 11:  If you created painted paper, but apart the square you painted.  Make sure paint is dry.  If using construction paper skip this step.

Step 12:  Take the green paper.  Draw a leaf on the paper.  I used a black marker to do this so you can see it better.  It is fine if you want to draw yours with pencil.


Step 13:  Cut out the leaf and glue it to the outer edge of the nest.  You choose where you want to place it.

Step 14:  On the largest square you painted, draw a half circle to create the bird's body.  If you are using construction paper, do this on the color you selected for the bird.  Feel free to add a circle to create an eye for your bird.

Step 15:  Cut out the bird's body and glue it to the nest.  Make sure your bird fits in the nest.  If it is too big, you may have to cut it down a bit or make the nest larger with your crayons.


Step 16:  Draw a triangle on your orange paper.  This will be the bird's beak.


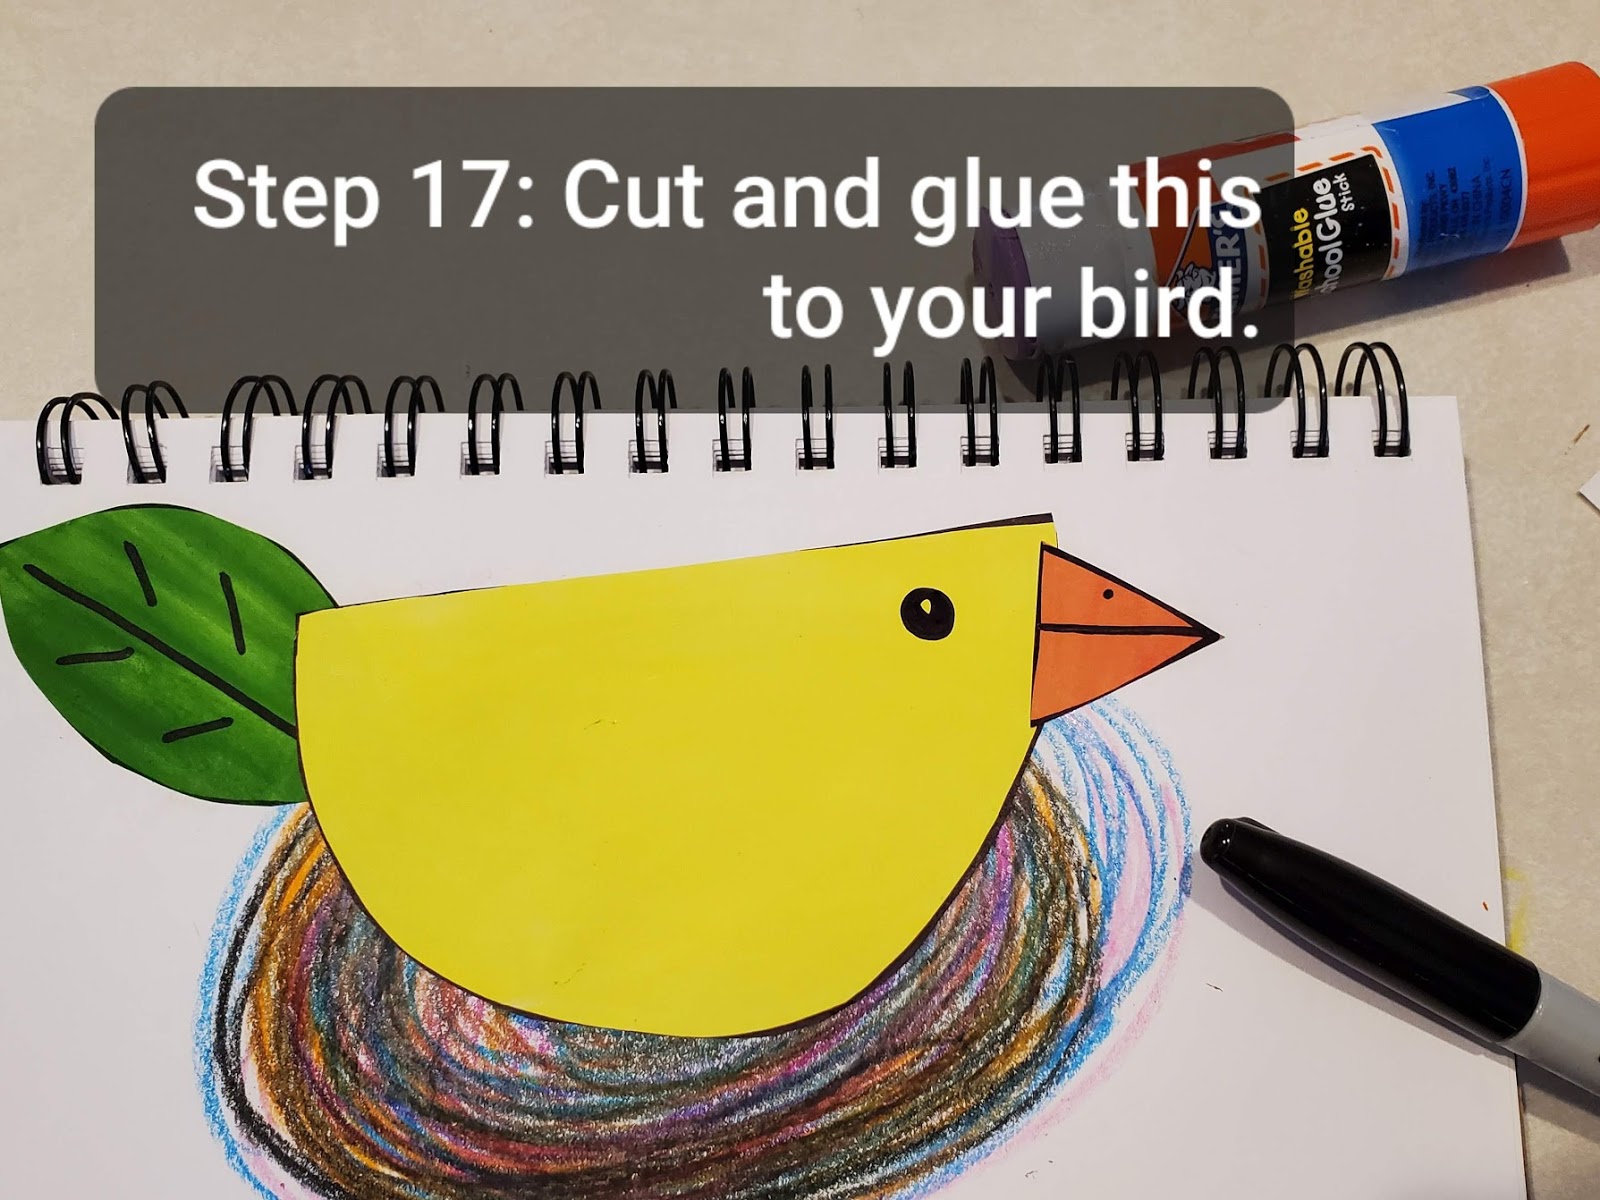
Step 17:  Cut out and glue the triangle to the bird's body to form the beak.  You can add details inside the beak if you wish.  I drew a line to create a top and bottom part to the beak.  I also added a dot to give him a nostril to breath.

Step 18:  On the piece of paper that you chose for your wing and tail color, draw a half circle and a triangle.


Step 19:  Cut out and glue the wing and tail to the body of your bird.  If they seem too big, cut them down to make them smaller.

Step 20:  On the white paper, draw ovals to make eggs.  You decide how many you would like to make.

Step 21:  Cut out and glue eggs to the next.


Step 22:  This step is optional.  If you want to take markers and place designs or patterns in your bird's body feel free to do so.  I also added details in the wings and tail of the bird.  I had a bit of green left over, so I made some extra leaves to go around my nest.  Feel free to put your creative spin on it!

Tuesday, April 14, 2020

Crazy Busy Art Room Art Prompt 18

Good morning Comet Artists! Today's art prompt is a bit of a scavenger hunt. We are going to be making plate portraits.


All you need for today's art adventure is a dinner or paper plate. This will be the face of your portrait. Next, hunt around the house to find objects that can help you make the other parts of the face (eyes, ears, nose, mouth, hair). BE CREATIVE! Have fun with this.
I made a couple different plate portraits before I decided on the one I liked best. Take a photo of your plate portrait post it in the comments below. I can't wait to see what you come up with.
Also, please remember to put things away where you found them when you are done. We want to keep our parents happy during our creative adventures.❤️