

I have posted photos to help with the steps, but please read through the directions for any additional directions.
Step 1: Paint a paper plate orange or red-orange in color. If you don't have paper plates at home, cut a large circle out of a piece of plain paper and paint it orange. You want the circle to be roughly the size of a plate. If you are struggling with getting the circle large enough, use a kitchen plate or an ice cream lid as a stencil to get the correct size.


Step 2: If you have black and orange construction paper you can skip this step. If you do not have construction paper at home right now, paint a plain piece of paper half orange and half black with your watercolor paints.


Step 3: Once the paper plate is dry, fold the edge of plate on one side. Please note, this is not a center fold, it is more of a 1/4 fold of the plate.

Step 4: Fold the other side of the paper plate so that the 2nd fold overlaps the first to form the snout of the fox.


Step 5: Glue the folded pieces together so they stay in place.


Step 6: Out of your black paper, cut out a circle to create the nose for your fox. If you are having trouble creating a circle, the lid on a seasoning container would make a great circle stencil for the nose of your fox.


Step 7: Take a second piece of black paper or a scrap piece and fold it in half. It is time to create the eyes of the fox.

Step 8: Keeping the paper folded, cut out a circle shape. When you are done cutting you should have 2 circles that are the same size. If you are stuck on what size circles to make you could use a quarter as a stencil for this step.


Step 9: Glue the eyes in place.


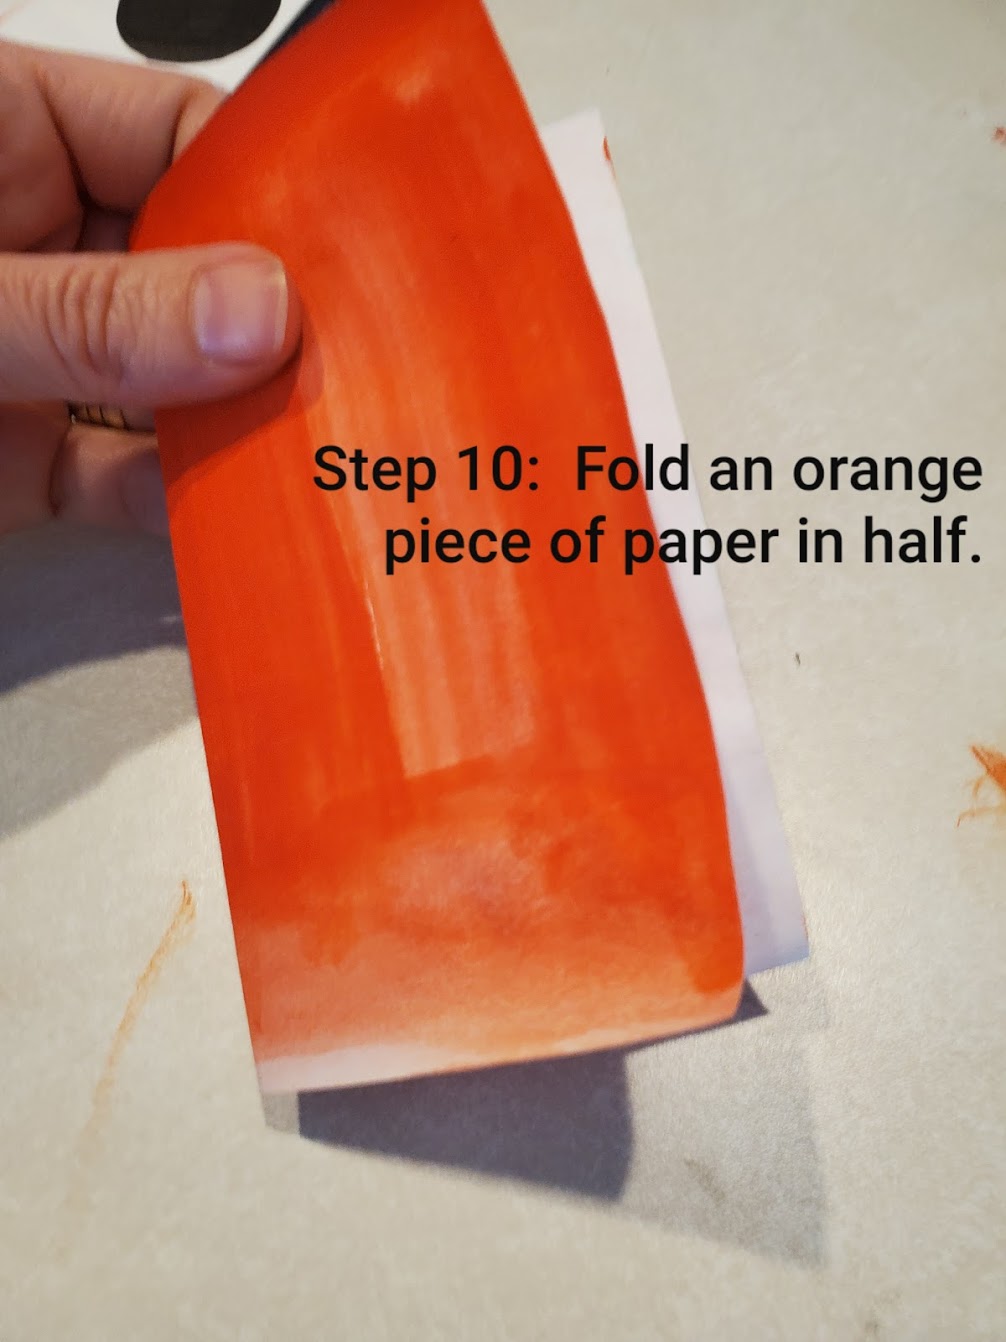
Step 10: Fold an orange piece of paper in half. It is not time to make the ears.

Step 11: Keeping the paper folded, but out a triangle shape to create the ears. I drew the triangle first with pencil to make sure it was large enough before I cut. Make these triangles big enough so your fox can hear danger coming. If you feel they are too big once you place them near the top of his head, trim the triangles down till they feel like they are the right size.


Step 12: Glue the triangle to the plate to create the ears. Note that the ears are glued more to the side and not directly in the center of the plate.


Step 13: This step is optional. Using a marker, paint or pink piece of construction paper, place a bit of pink inside the ear.


If you thought this was fun, feel free to keep going. What other types of animal faces could you make out of a paper plate? Could you make a cat or a dog? How about a bear or a deer?
Have a beautiful day!
Love,
Mrs. Cornell
No comments:
Post a Comment